

How To Install A Driveway Drain Grate
Most homeowners that buy trench drain are looking to resolve an existing drainage problem. From my observation, driveway drainage problems are the virtually common, so permit'south talk nearly how to install atrench bleed in an existing driveway. The trouble can vary from beingness merely a low spot in the drive that causes the pooling of water to the unfortunate deluge of water that enters the garage each time there is a heavy pelting.
Acquire more virtually driveway drains!
In this situation, the homeowner was getting water into his garage with every hard rain. Further investigation suggested that water was running through a seam at the asphalt-garage floor interface and filtering to the foundation which caused dampness at the base of his basement walls and an over agile sump pump. In addition to having a driveway that gently sloped toward the house, his business firm was at the low end of the street, which made his site more decumbent to collecting street run-off. To make matters worse, he had downspouts from the roof on either side of the garage door that supplied more water to the afflicted area.
To remedy his problem, the customer decided to install a trench drain abutting his garage floor to have the water from his downspouts. The water was to be discharged toward his back k, which sloped to a creek. The home possessor selected a pre-sloped 6″ wide polymer concrete trench drain (Polycast 600) with cast iron grates and steel channel protectors. The drain channels of this arrangement were pre-sloped (not neutral) then water would flow the moment it entered the bleed.
Step One – Earthworks
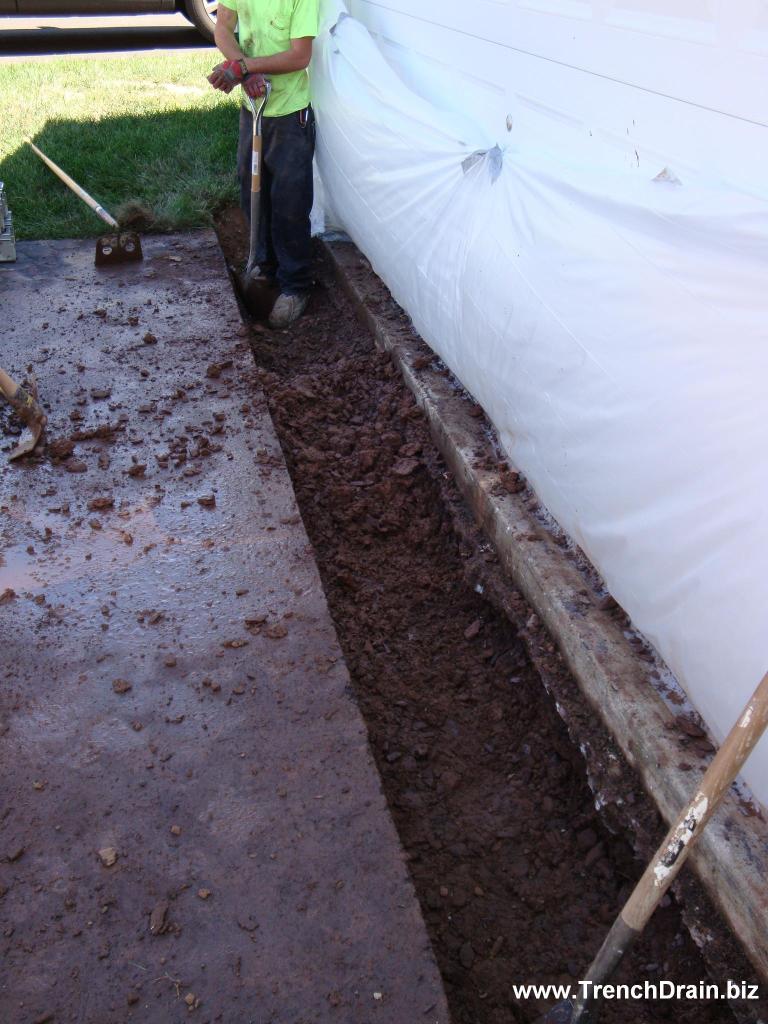
 Prior to any piece of work, the contractors hung a sail of plastic to protect the garage door and siding from slurry and concrete splashes. They cutting a line in the asphalt 20 inches in front of the garage door using a concrete saw. And so they cutting the cobblestone strip into smaller squares for easy handling during removal. The diamond blade on this saw had a 6″ cutting depth, which made it able to cut through the iv inches of asphalt and another 2 inches of the gravel below.
The installers manually removed both the sectioned asphalt and underlying gravel. In this case, gravel and asphalt was put into the back of a pick-up truck and taken to a land make full for disposal. During this time, the downspouts were fitted with the four″ PVC fittings necessary to divert the roof water into the trench and drainage piping.
 Step Two – Associates
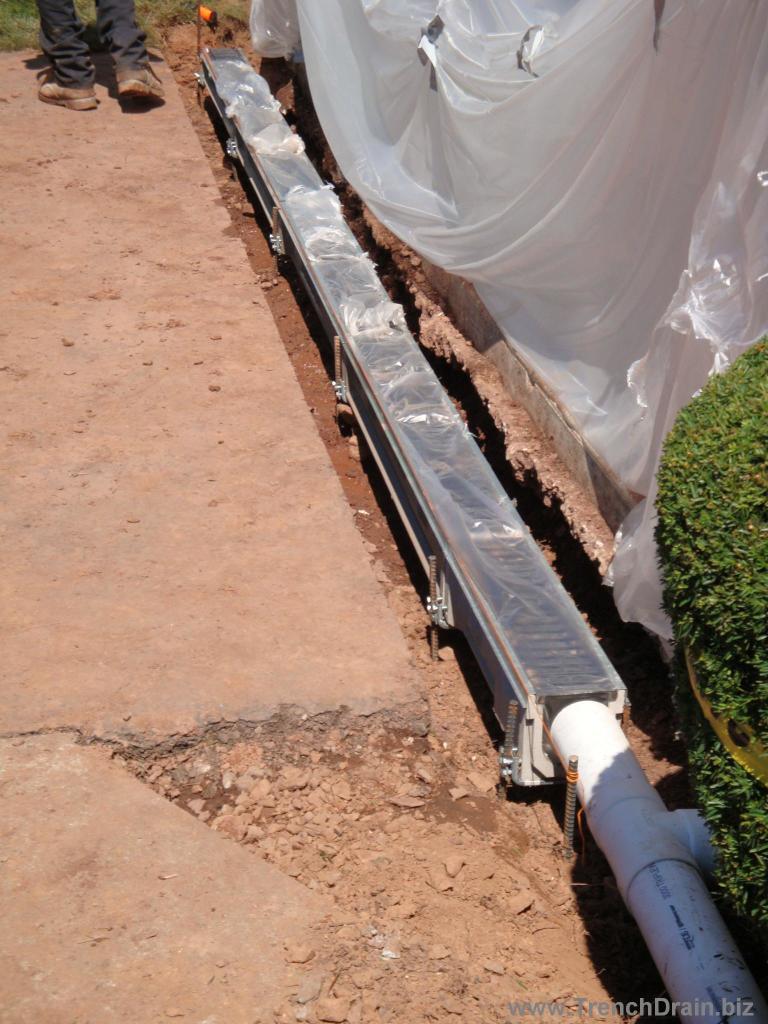
To assemble the channels, placement began at the lowest point (capsize out) and progressed to the shallowest end. The contractors established a level line only beneath the surface of the asphalt and 14″ from the edge of the garage floor. They fastened installation hardware to the beginning polymer channel section (iv foot length) and set it in identify, suspended 4 inches above the excavated surface, with #iv rebar.
The top edge of the channel was adjusted to meet the level line by using installation chairs. Vertical adjustments were done by sliding the installation chair on the rebar. Horizontal alignments were made with the adjusting bolts on the installation chair.
After leveling the first aqueduct, the contractors added installation hardware to the cease of the 2nd channel and attached in an "end to end" manner with the first aqueduct. Again, they suspended the aqueduct 4″ in a higher place the excavated surface and adjusted laterally and horizontally on the rebar supports to match the level line. The installers repeated the technique until the final channel section was put in place.
Once the aqueduct was assembled, the contractors installed end caps (with knockouts) and attached down spouts and piping. They wrapped the grates in plastic sheeting both to protect them from physical and to keep physical out of the trench. Some people place a strip of plywood in the grate recess during concrete pouring. This is a good idea. It allows y'all to keep the grates clean and the trench free from concrete and not bargain with the plastic sheet.
Step Three – Pouring Physical
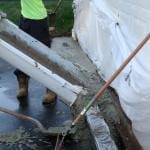 For this installation, the drain was centered in a 20″ wide excavated trench that was approximately 12″ deep. A minimum iv″ space was beneath the channel and vi″ on either side of the channel for concrete to fill up. No reinforcing was used in the physical (4000 psi mix). The physical truck discharged the mix directly into the trench. 2 men placed the physical in the trench using hand tools. It would have been useful to take a pencil vibrator during the placement. Nevertheless, concrete pouring only took well-nigh one half hour.
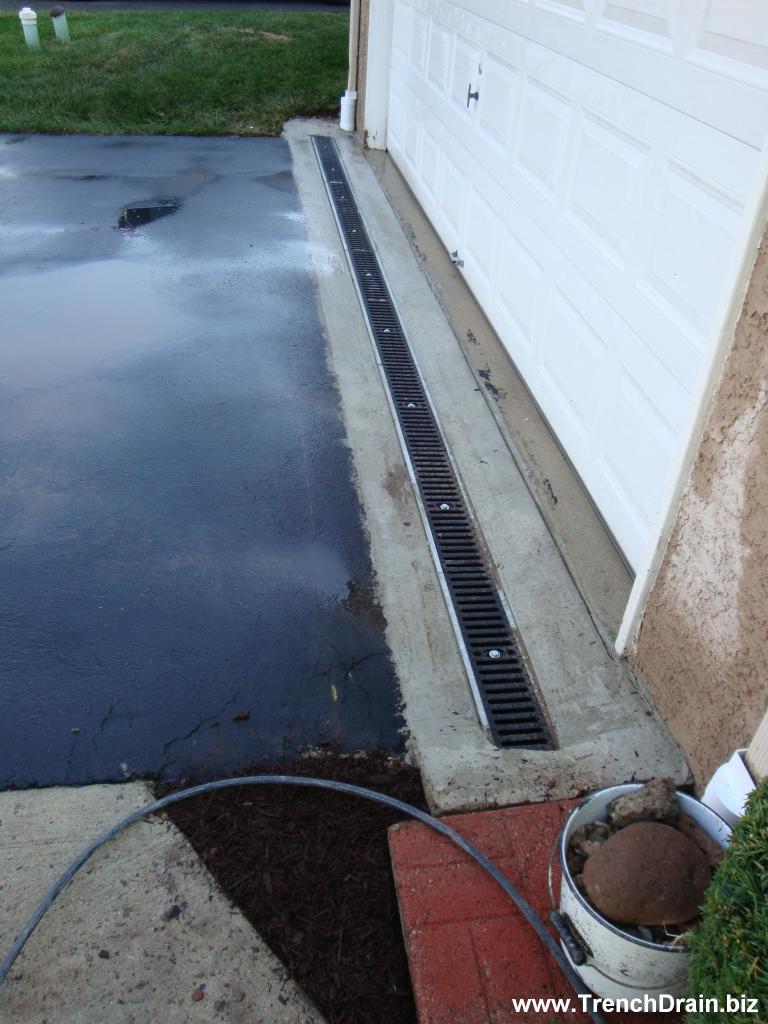
Once the concrete was placed and the truck had left, the installers removed the grates to clean up the channels. They finished the cement with trowels and edging tools. Once finishing was consummate and the concrete began to set, they locked the grates into place and tightened the bolts.
Once the concrete dried, the contractors tidied the installation area, replacing dirt areas affected past excavation, returning flower planters to their places, picking up rubbish and power washing the driveway for the homeowner.

Source: https://trenchdrainblog.com/2008/10/08/trench-drain-installation-residential-driveway/
Posted by: muellercocia1974.blogspot.com
0 Response to "How To Install A Driveway Drain Grate"
Post a Comment